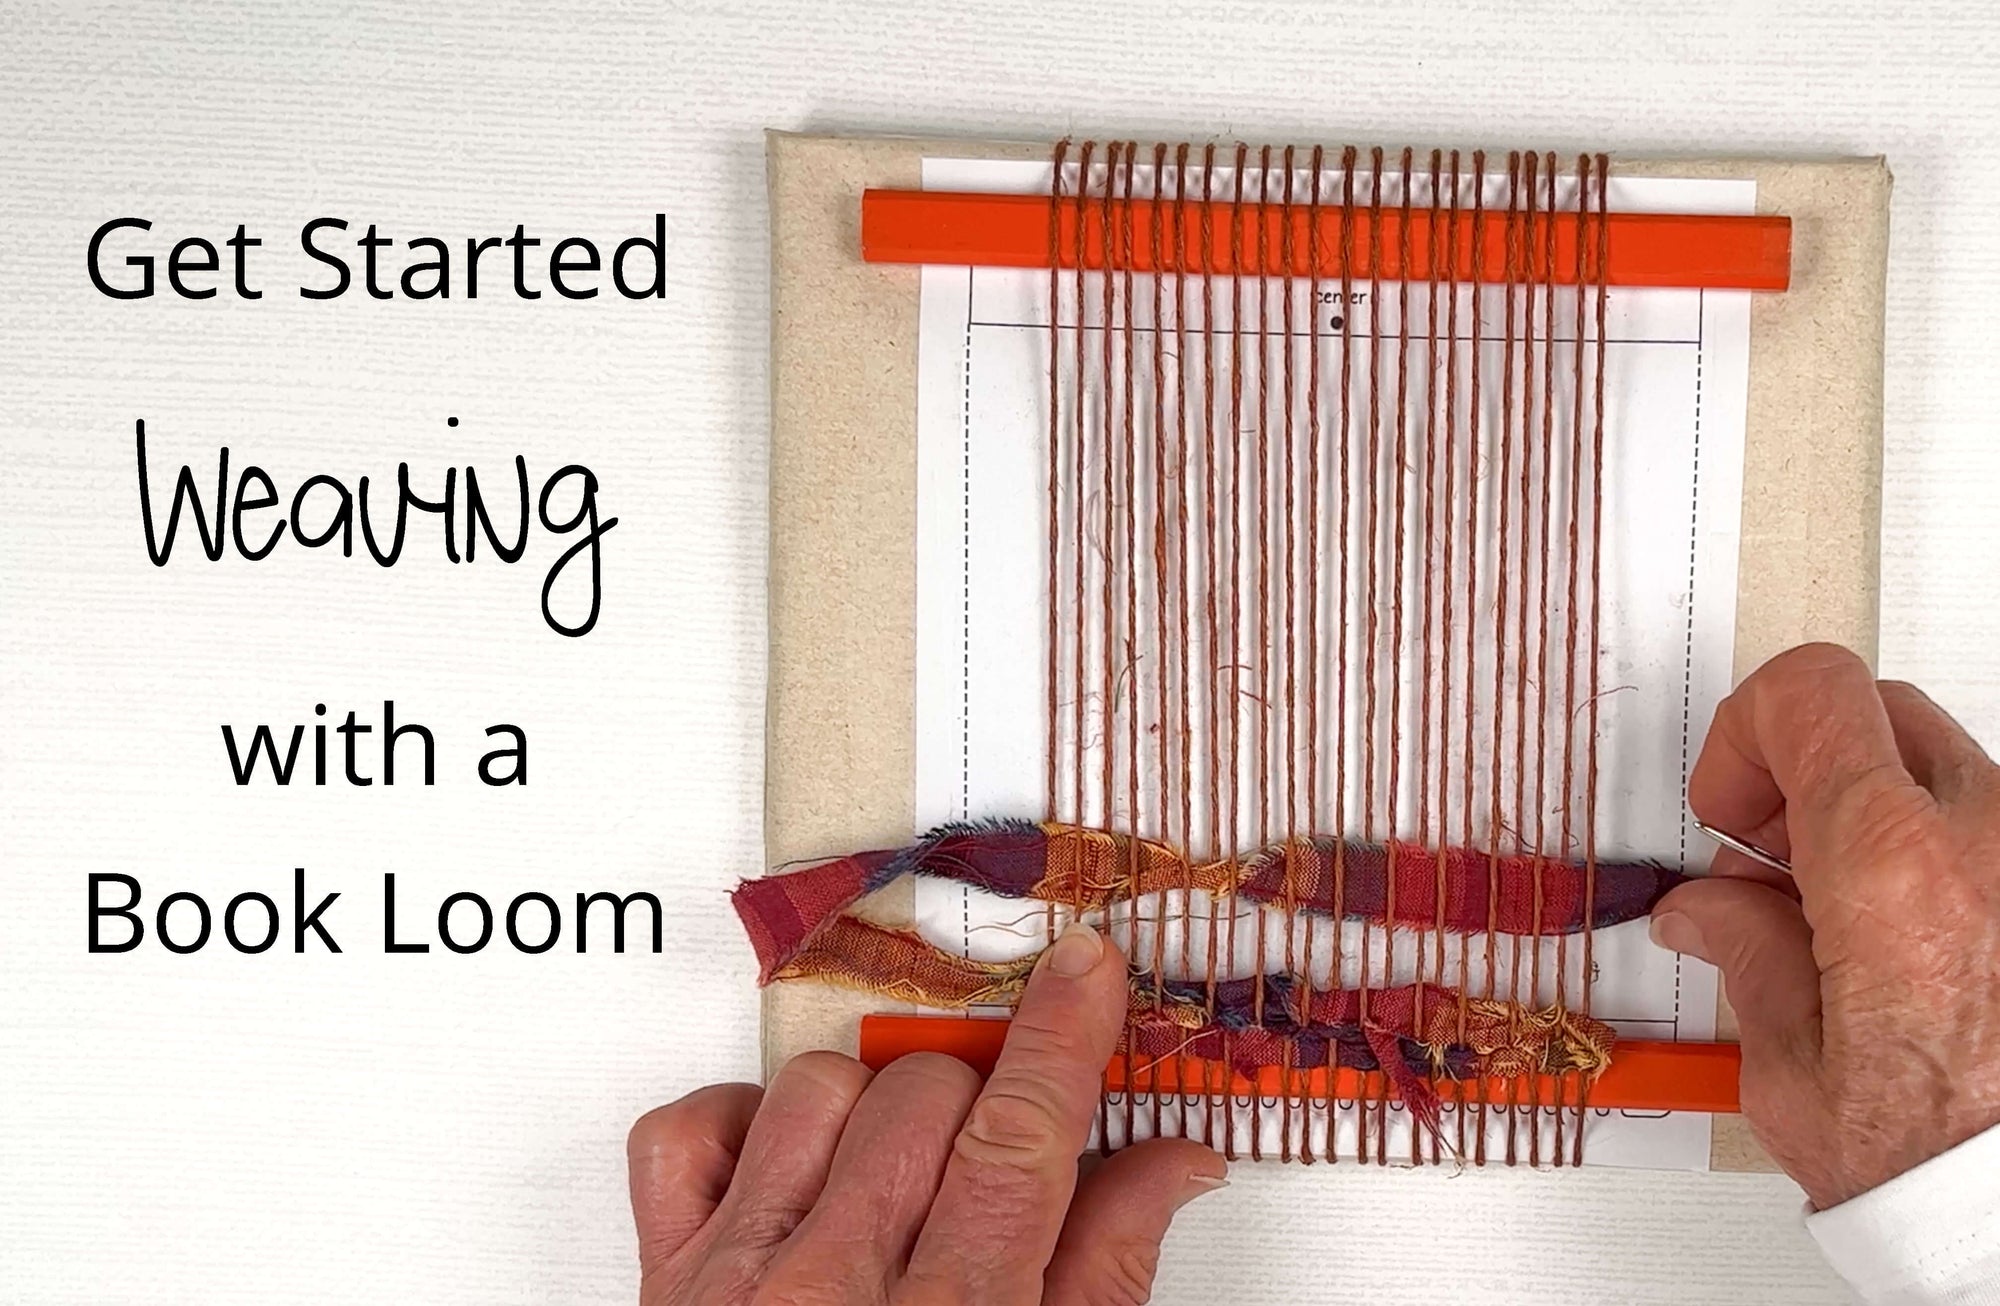
It’s Time to Start Weaving!
In my last post, I showed you how to DIY your own loom and prepare it for weaving. Click here to see what we did.
 Here's what you need to weave this project:
- loom - I'm using the loom we made in the last post - if you'd like to purchase one from my shop, click here to see the collection.
- string - for the warp yarn wound onto the loom.
- tapestry needles
- and some yarn!
Click here for the yarn used in the sky: Lion Brand Yarn- Landscape- color, Boardwalk
Update: the yarn I used for the mountains was Wisdom Yarns' Poems/Forte. It's no longer available, but here is an alternative you may like: Wisdom Yarn's Poems/Chunky. The Lion Brand Yarn's Landscape line has a lot of nice earthy blends you might like for the mountains.
Measure about a yard of yarn, this yarn is called the weft because it will weave back and forth across the warp threads.
Push the row of twining down on top of the ruler.
Thread the yarn through a tapestry needle, and weave one row across, over one warp thread, and under the next warp thread until you reach the other side.
It’s crucial that you don’t pull on the weft yarn too tightly, so make an arch in the yarn.

Pack the yarn down, making sure it’s even, with no puckers between the warp threads.
I use my fingers to pack the weft yarn down, but a table fork works well too.
From now on, it’s up to you!
You can just weave stripes, which is the easiest or try some new techniques.
In this project, I’m going to weave a sunset landscape.
I’ll get you started now, and show you how to finish it in the next post.

I used variegated yarn here, so the colors change randomly. As I measured the yarn, I selected just the colors I wanted to get the desired effect.
After weaving the base, I chose darker colors to begin a hill shape.

When weaving a shape, I don’t go all the way across the warp, I just weave the distance needed for each shape.
Here’s the weaving process for the hills:

… with just a touch of the sunset starting to emerge behind the hills.
Notice how I use three different colors as I weave. Using more than one color is an impressionist effect, and makes the colors shimmer and pop.

Here's a close-up of the last step I showed you.

Here I replaced the orange with hot pink from the same skein of variegated yarn.

Now I’m blending three shades of purple.

Adding some red now. Same yarn, I love that you can get so many different colors from one skein of variegated yarn.

And finally a bit of black.
Yarns come and go, and you may not be able to get exactly the yarns I used here, but if you’d like to try to find them, here’s where you can go:
Click here for yarn used in the sky Lion Brand Yarns, Landscapes color-Boardwalk
Update: the yarn I used for the mountains was Wisdom Yarns' Poems/Forte. It's no longer available, but here is an alternative you may like: Wisdom Yarn's Poems/Chunky.The Lion Brand Yarn's Landscape line has a lot of nice earthy blends you might like for the mountains.
Finishing the Project

And now it’s the time we’ve all bee waiting for! Let’s cut it off the loom!

Sew each warp thread into the back side of the weaving.

Now it’s time to clean up all those weft threads.
Thread the yarn onto the tapestry needle and sew it into the back side of the weaving.
You can also just tie the yarn ends together. I often do both techniques, but I want this weaving to lie as flat as possible, with no lumps from the knots on the back side.
Now the weaving is all cleaned up! I like to iron it on low with lots of steam, and then let it rest overnight.


I decided to frame it
Two reasons:- It’s easy to display on a table.
- I thought the selvages were too uneven, so the frame hides that problem!

I always tell my kids that a good artist isn’t perfect.
A good artist just knows what to do when things don’t go as planned.
Maybe I’ll hang my next one on the wall, with beautiful straight edges to show off.
Maybe not… but I'll have fun either way!
Hey there new weavers!
Are you confused by some of those weaving terms?
Fear not, I’ve got something to help you keep your brain sorted.
A pdf with photos and illustrations makes it easy to learn the basic weaving terms.
When you sign up you'll also receive my newsletters. They keep you up-to-date on new blog posts, things in the shop, and what's happening in the fiber world. You can unsubscribe at any time. Read my privacy policy here.
![]()